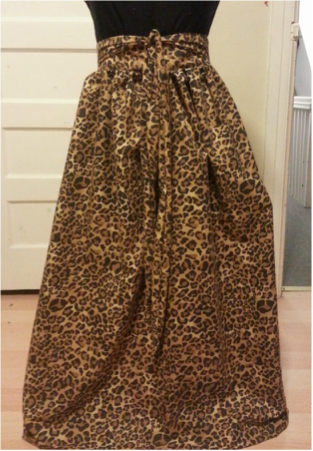
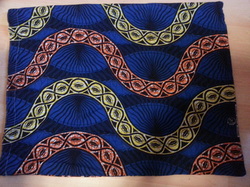
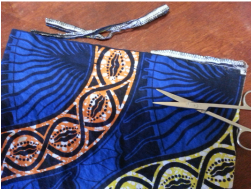
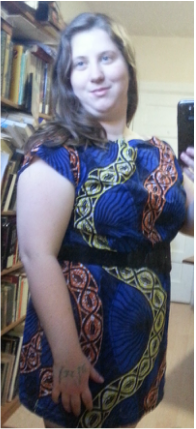
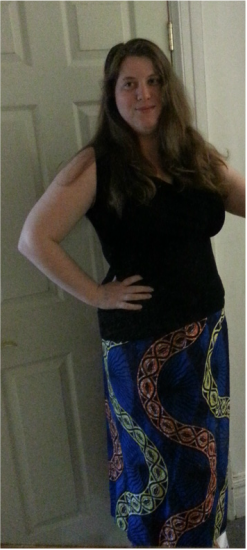
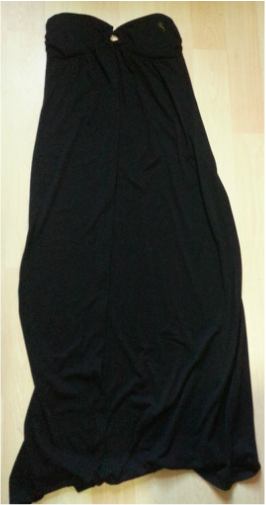
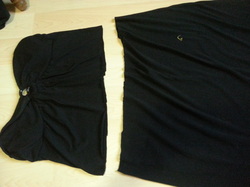
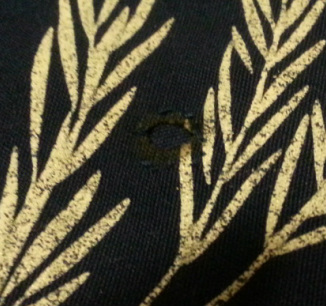
A Regal Maxi skirt made from a thrifted leopard print bed sheet.
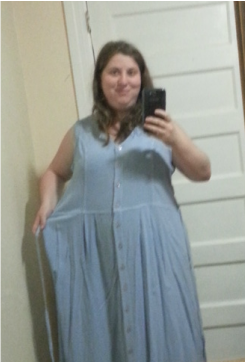
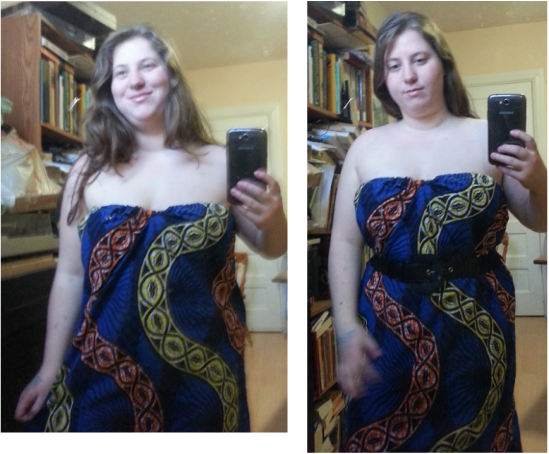
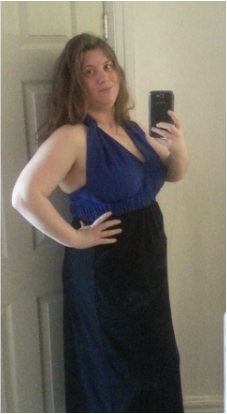
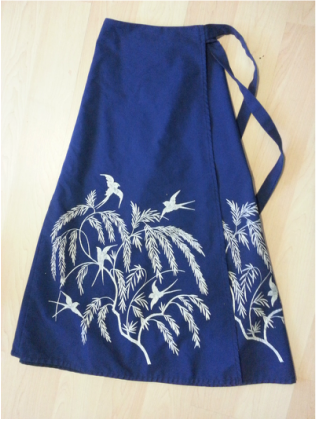
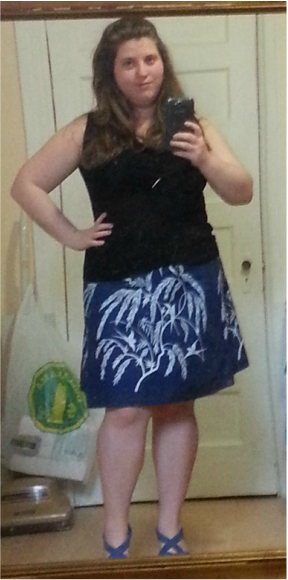
This full volume maxi skirt has a high waist, a long sash, a zip up the back and side pockets! It is fitted at the waist, and super comfy to wear. This bold look is breezy in summer but warm enough for fall.
What do you all think?
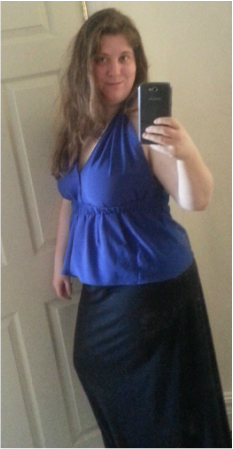
This full volume maxi skirt has a high waist, a long sash, a zip up the back and side pockets! It is fitted at the waist, and super comfy to wear. This bold look is breezy in summer but warm enough for fall.
What do you all think?


 RSS Feed
